The setup
You only need the device. With “In the App” or iCloud Drive you can start right away. A NAS or a cloud account you connect when you choose the storage location, or later.
-
Set up storage
The welcome screen has one main button: “Set up storage”. Below it are three more buttons. “Scan the QR code from the other device” is still greyed out and marked “Coming soon”. “Try it with demo data” loads sample data without you choosing a storage location, and you can switch away at any time. “Migrate from Paperless-ngx” is the way for the move from Paperless-ngx.
-
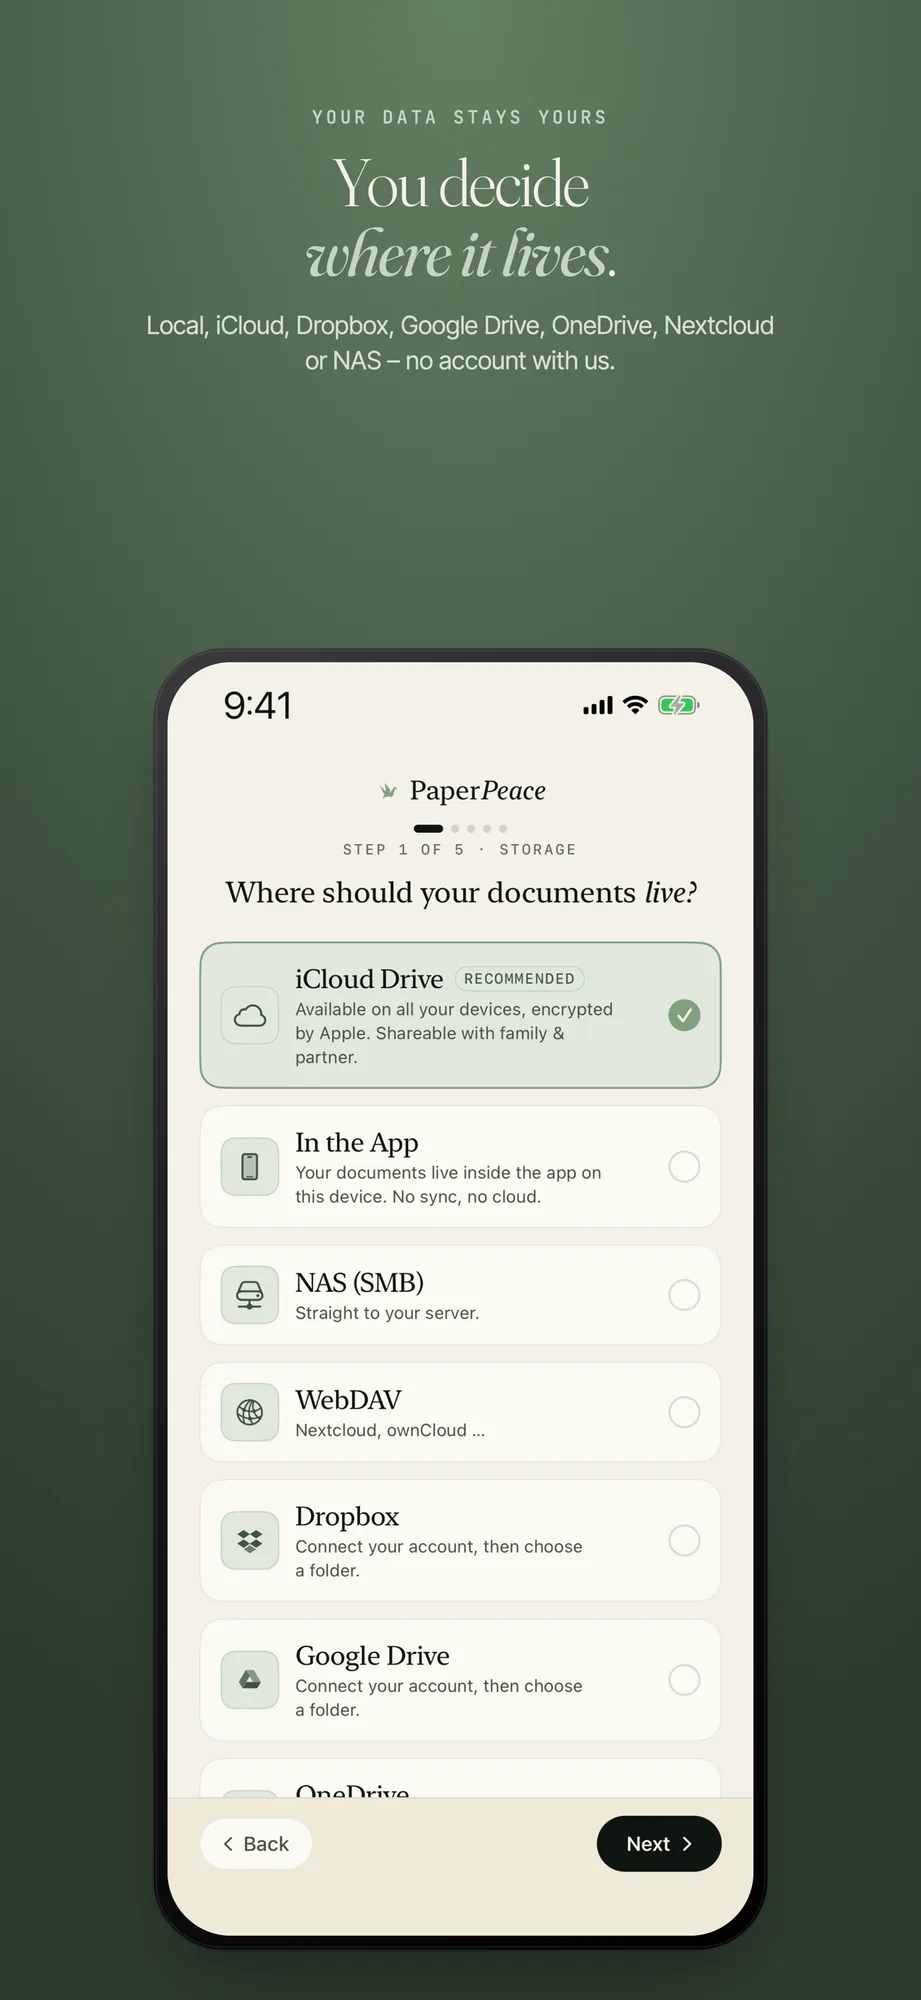
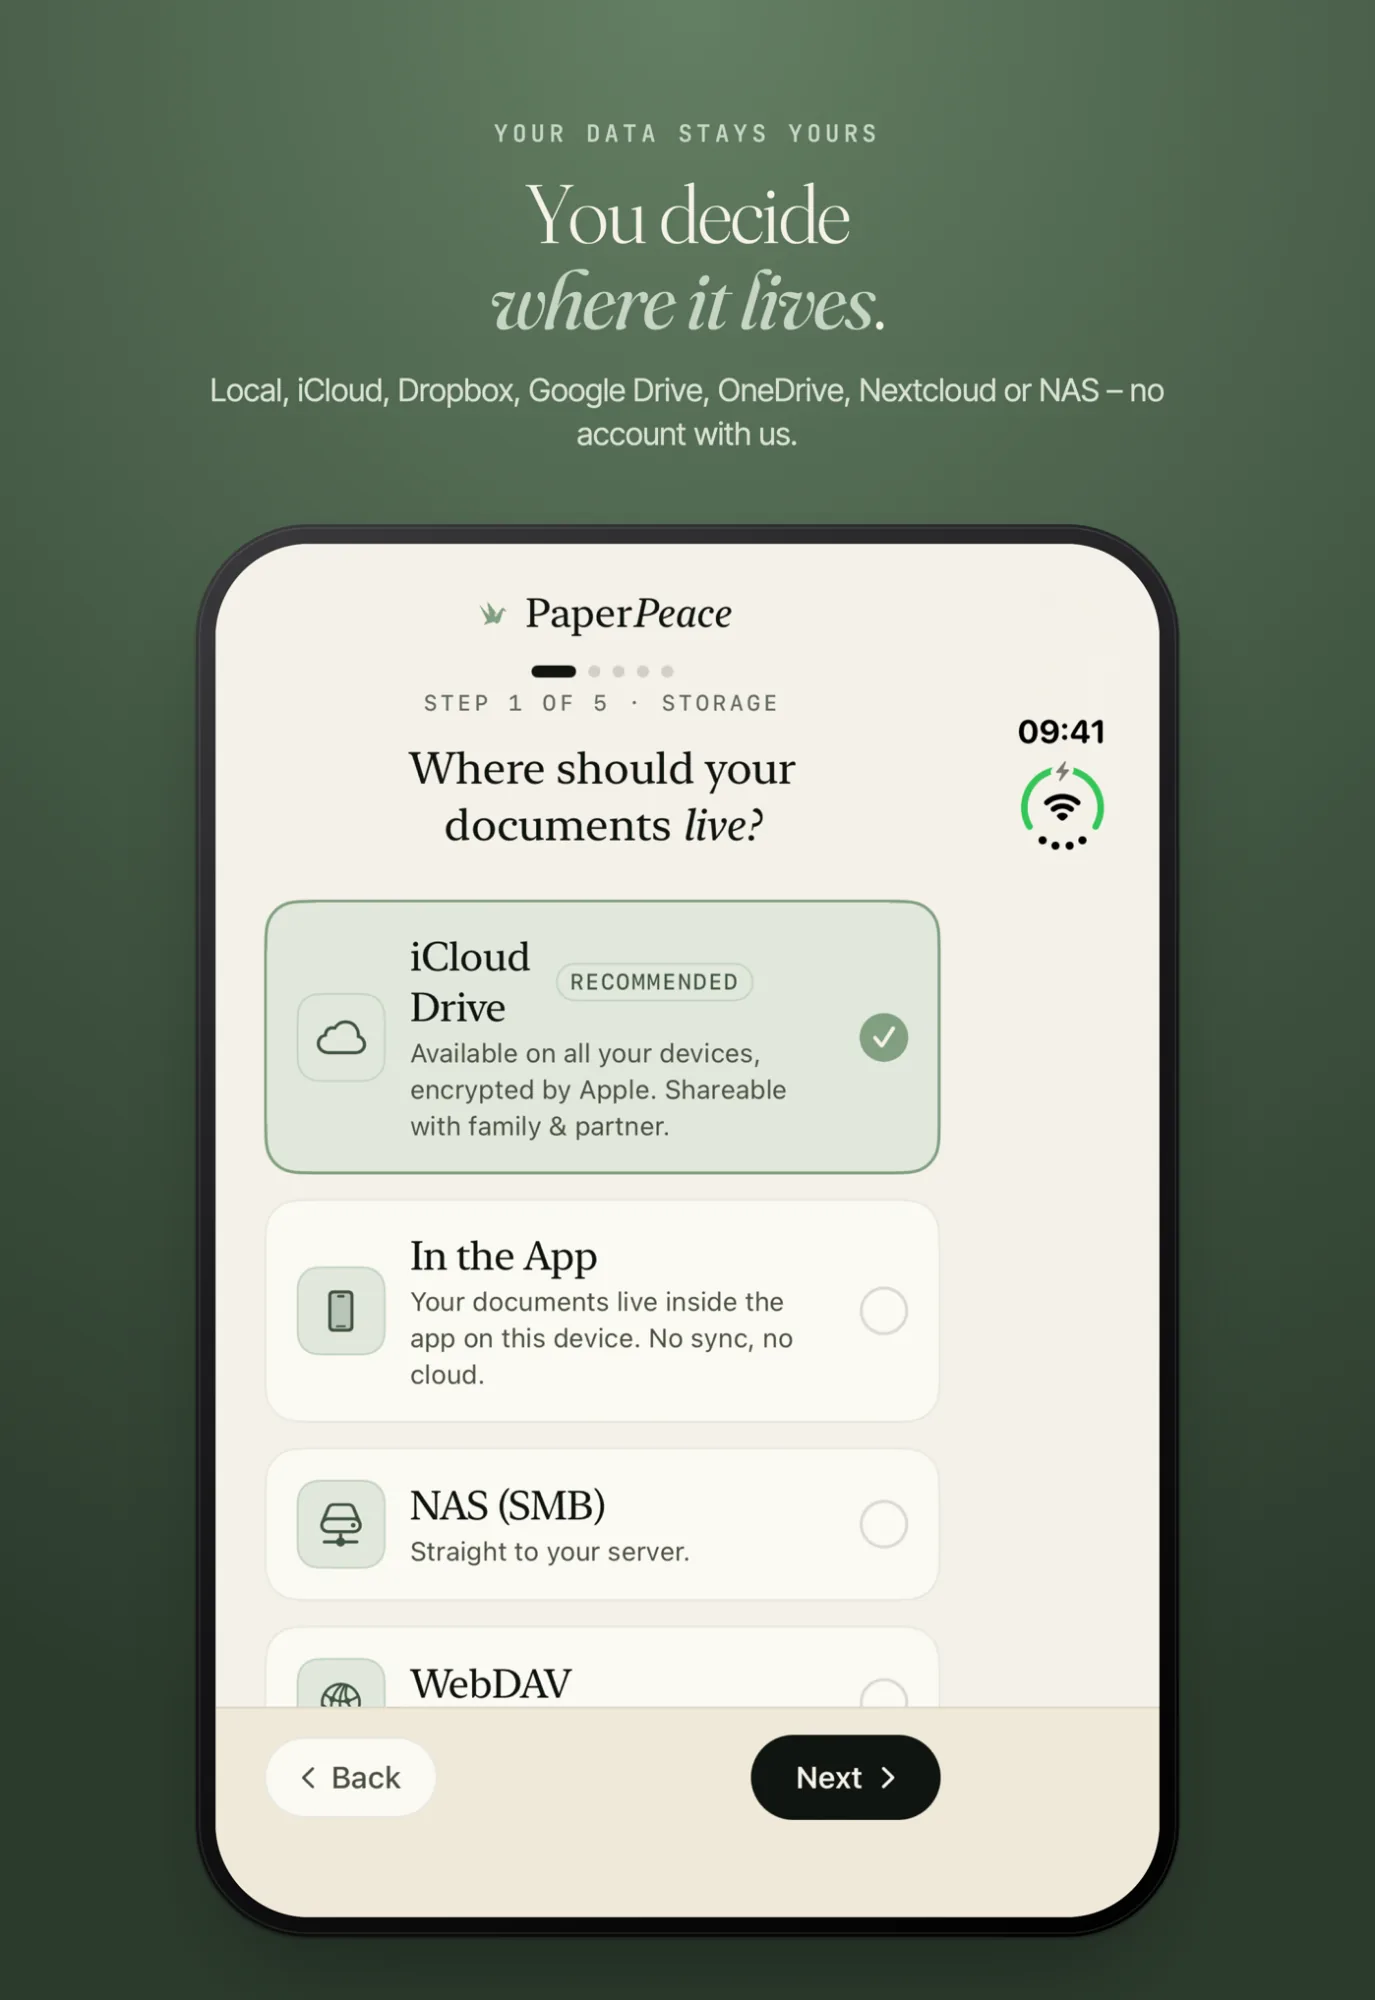
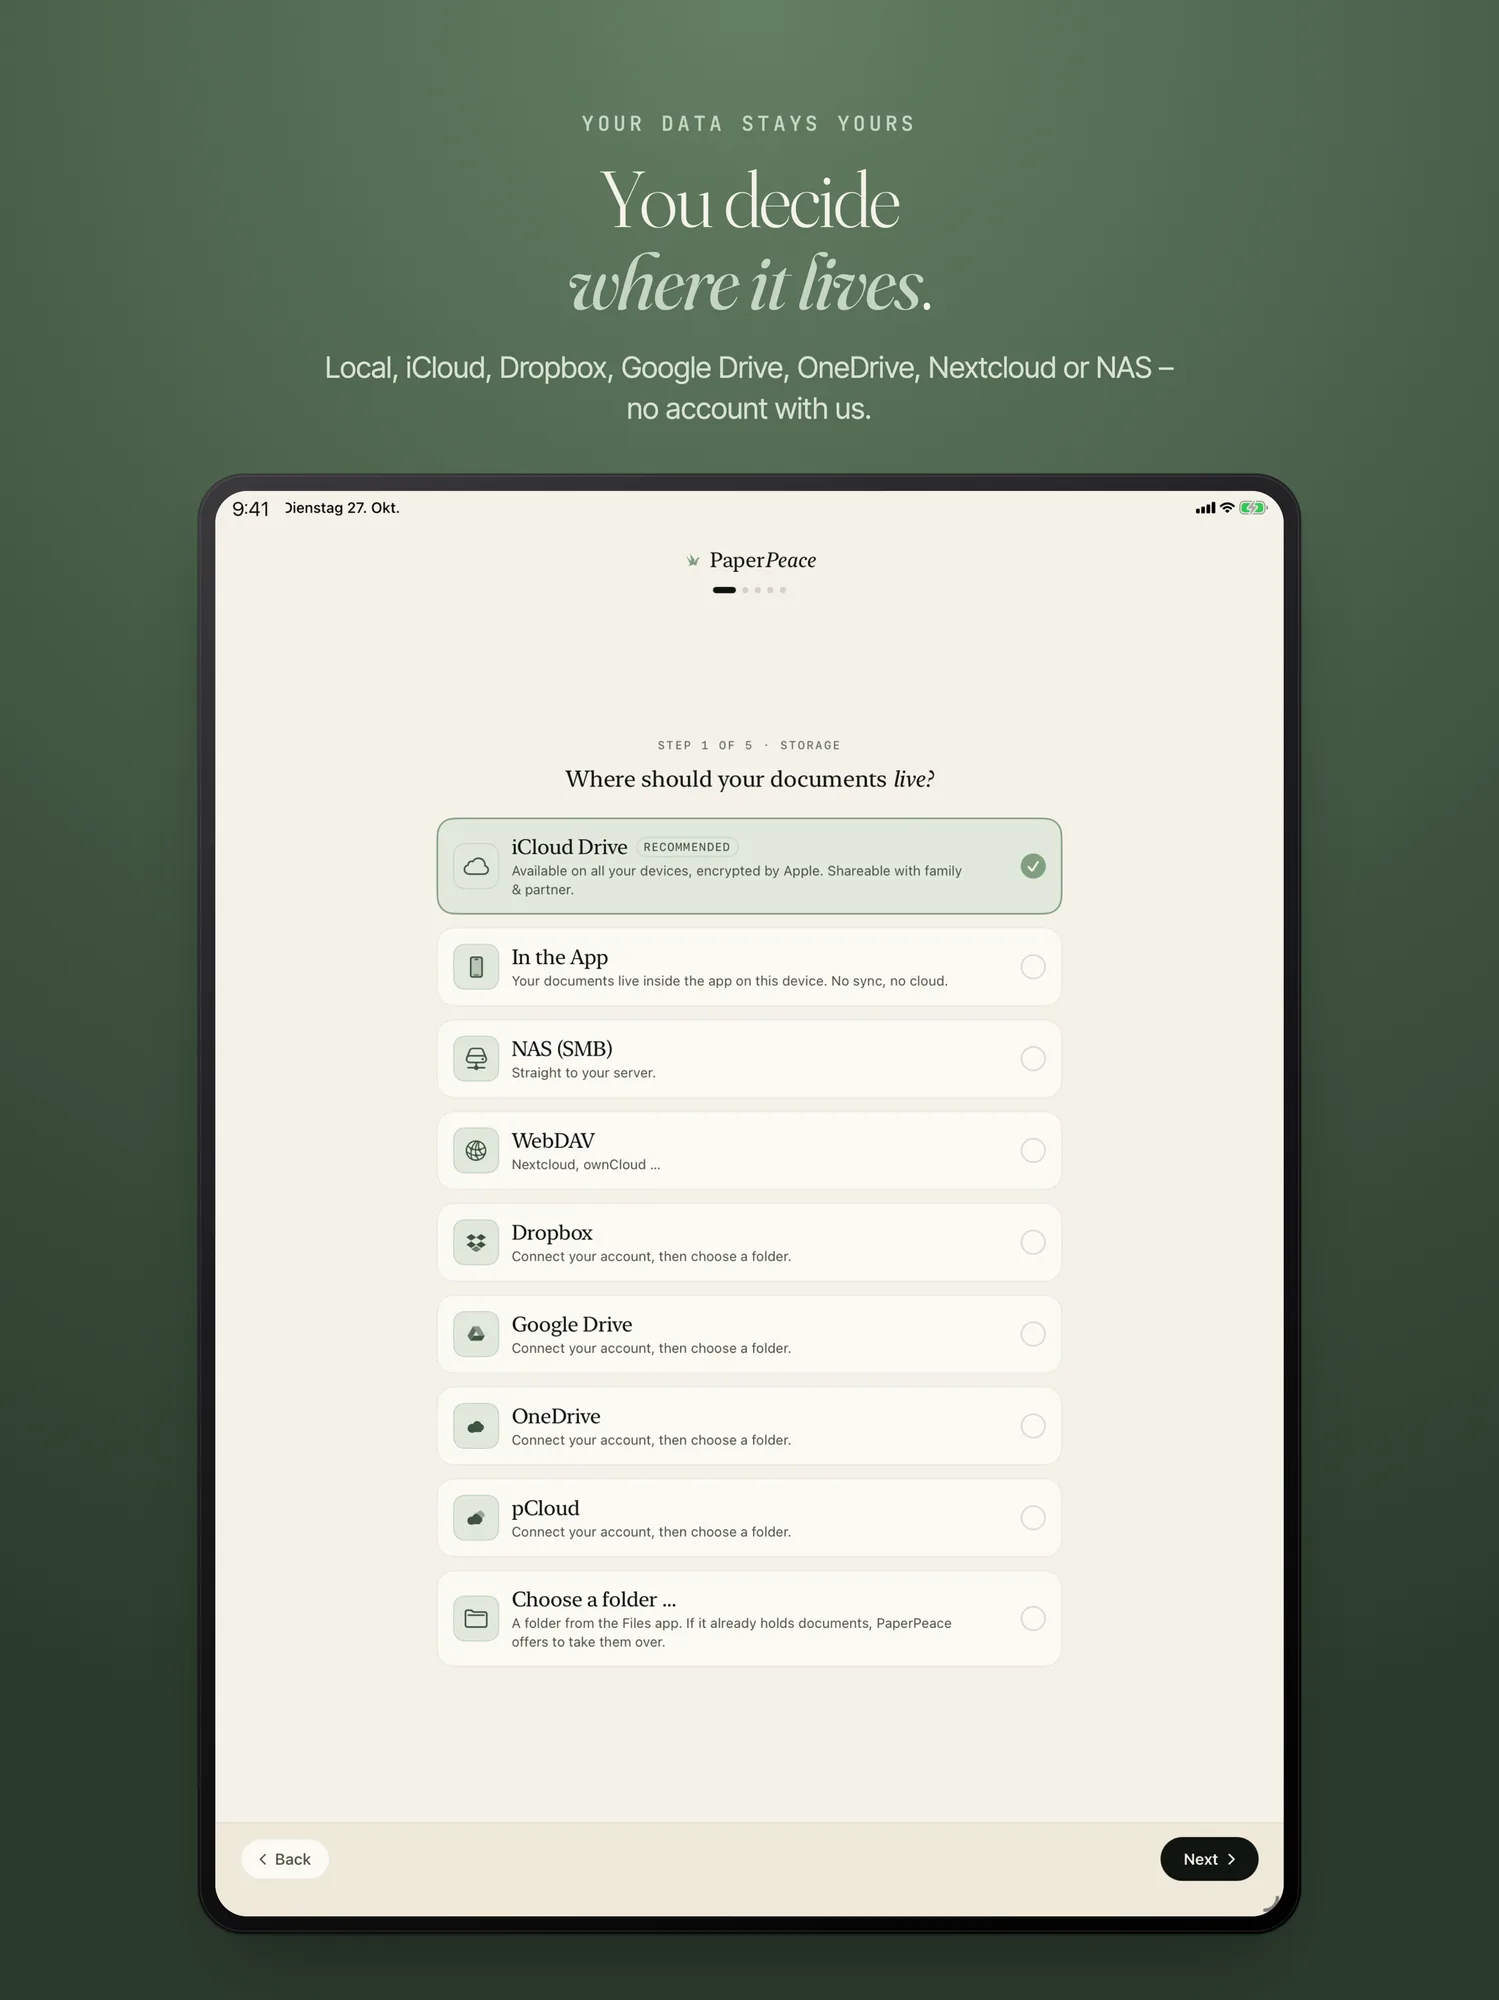
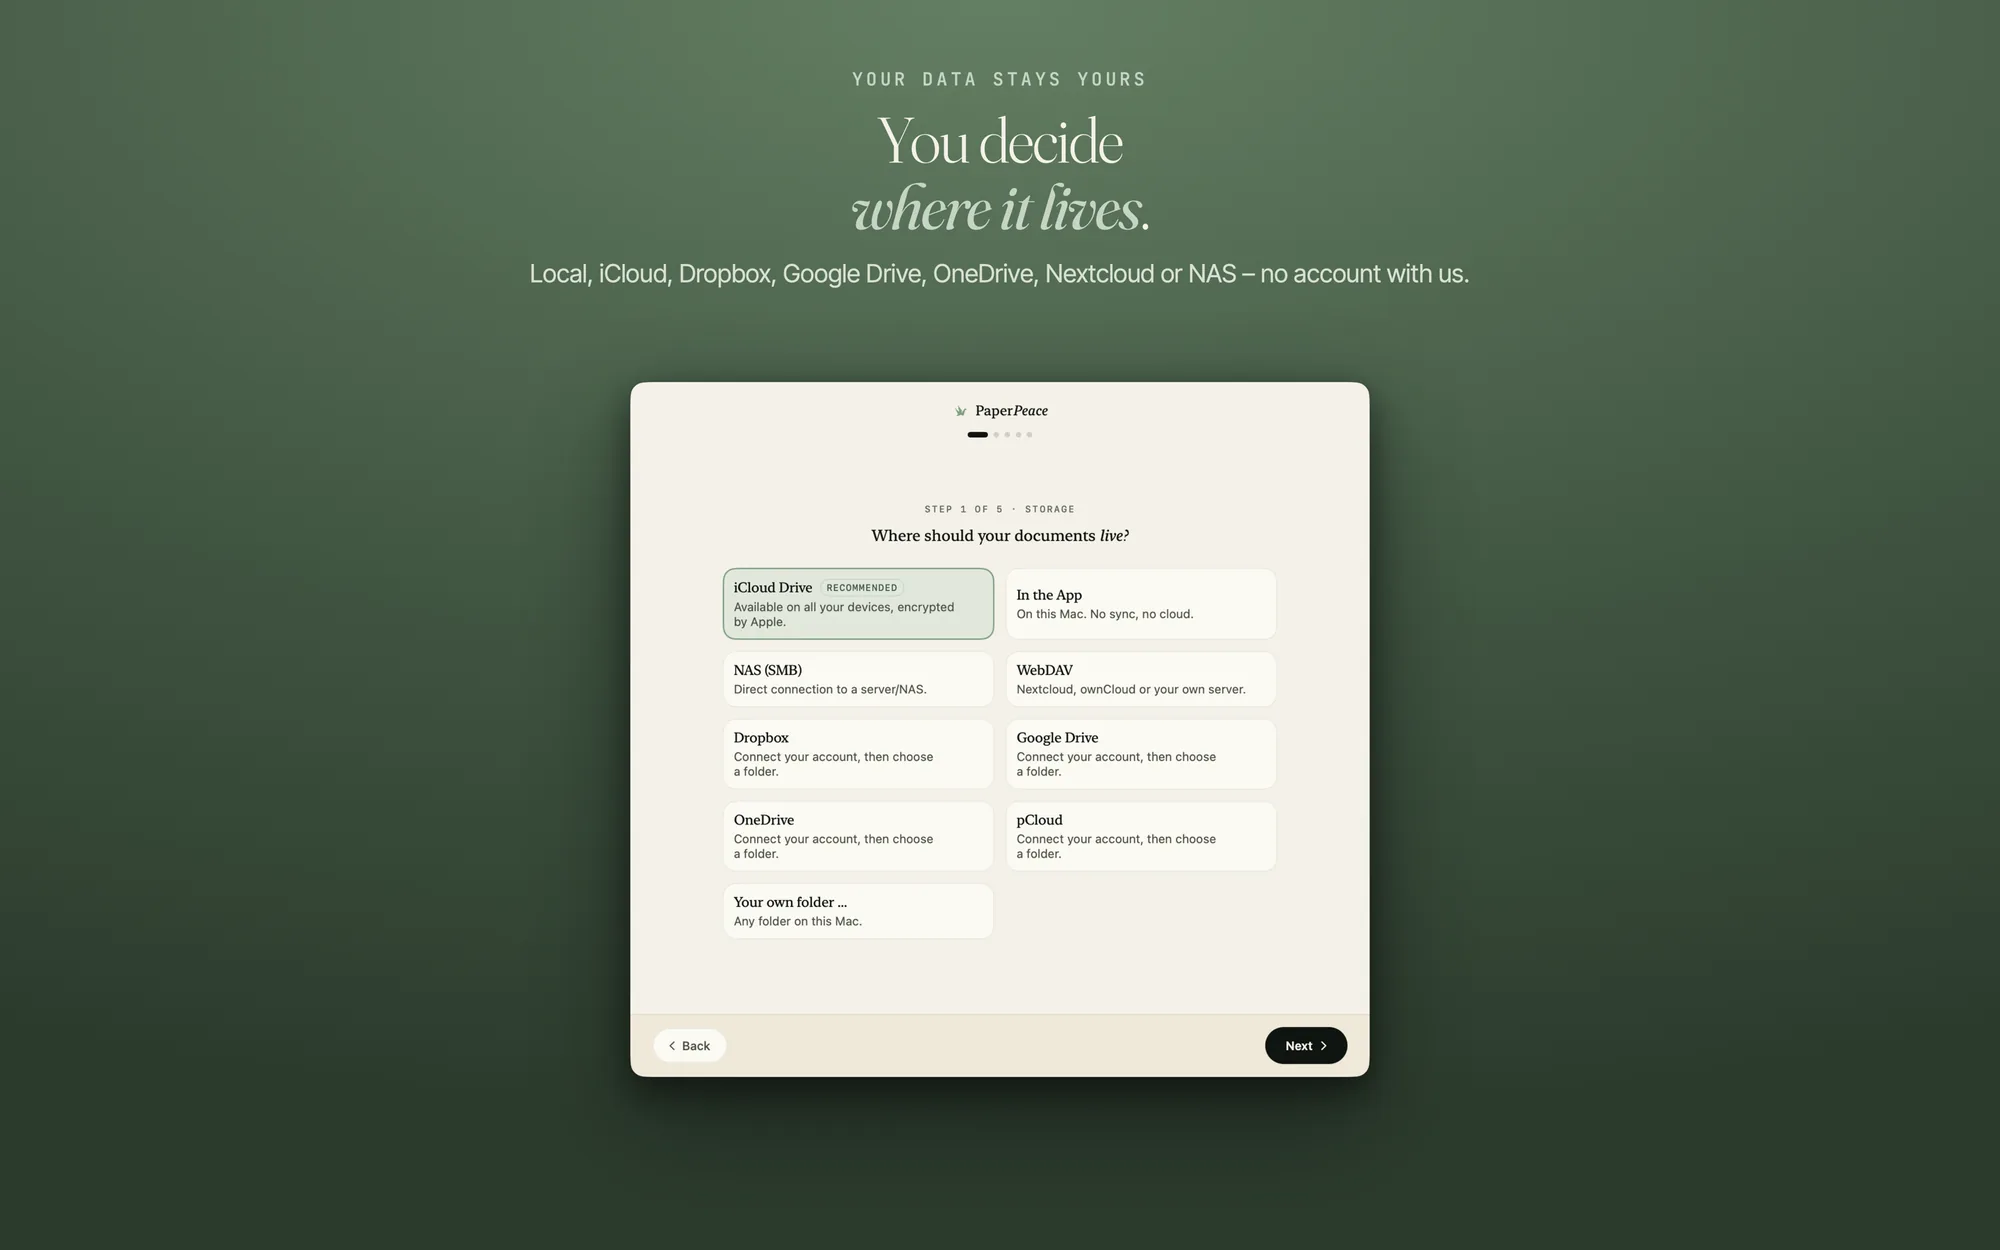
Step 1 of 5 · Storage
The question is “Where should your documents live?”. You pick a card:
- iCloud Drive: available on all your devices, encrypted by Apple.
- In the App: the documents live inside the app on this device, with no sync and no cloud.
- Choose a folder … (iPhone and iPad) or Your own folder … (Mac): a folder from the Files app, or on the Mac.
- NAS (SMB): the direct connection to your NAS. The guide: Connect a NAS over SMB.
- WebDAV: Nextcloud, ownCloud or your own server. The guide: Connect Nextcloud and WebDAV.
- Dropbox, Google Drive, OneDrive, pCloud: connect your account, then choose a folder.
With iCloud Drive on the Mac, you confirm with “Select”: the “PaperPeace” folder in iCloud Drive is used and created if needed. You can also pick a different folder. On iPhone and iPad you pick a folder in iCloud Drive.
When you pick a location, PaperPeace checks whether it may write there. If not, it does not take the location and tells you where to change that. More on Storage locations.
Without a purchase you use one storage location: “In the App”, iCloud Drive, your own folder or a NAS over SMB. WebDAV and the cloud providers come with the purchase.
-
Step 2 of 5 · This device
“What should this device be called?” This is the name your other devices know you by. If you leave the field empty, the device keeps the name the app shows below the field. You can change the name later in settings. Continue with “Next”.
-
Step 3 of 5 · Notifications
“Never miss a thing”: PaperPeace lets you know when documents have arrived from another device. For that the app needs your permission. You choose “Allow notifications” or “Not now”. Syncing works without notifications too. You can turn them on later in PaperPeace’s settings under “Notifications”.
-
Step 4 of 5 · Recognition
“PaperPeace sorts for you”: type, tags, amounts and due dates are read from every new document. Depending on the version, the app asks “Turn on” or “No, thanks”, or it shows only “Next”. On iPhone and iPad it says: “No document leaves your device.” On the Mac: “No document leaves your Mac.”
-
Step 5 of 5 · Ready
“Let's go” finishes the setup. What else the app can do, such as Spotlight, Siri, widgets and mail import, you find in the Discover hub.
Your first document
The way into the archive starts in a different place depending on the device.
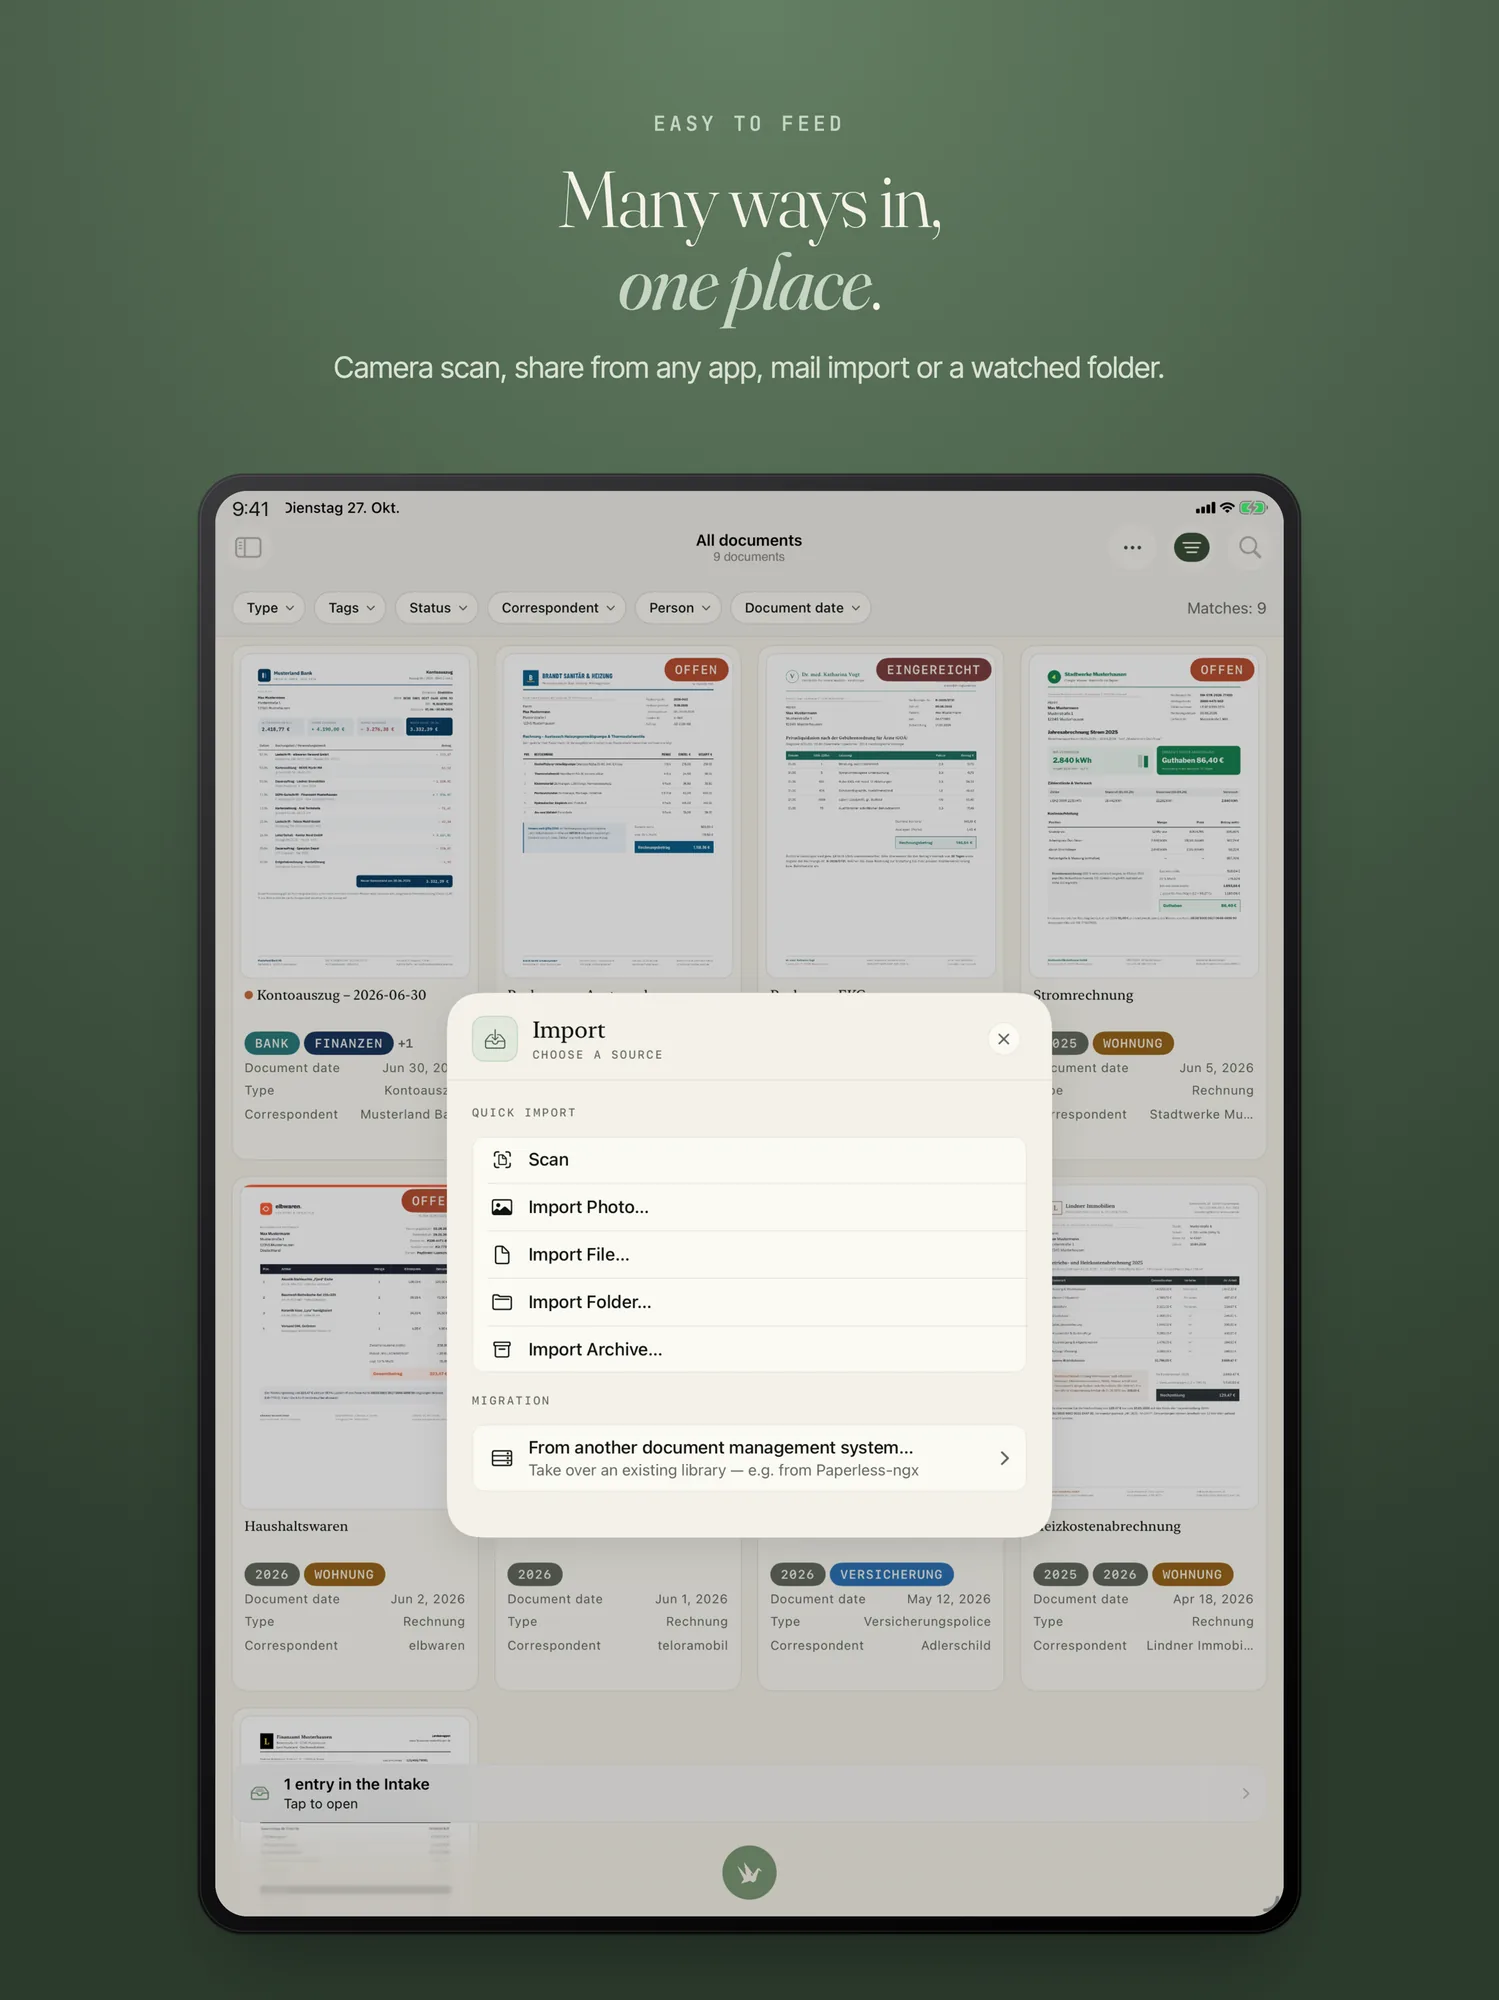
iPhone and iPad: tap the round button with the PaperPeace crane in the bar at the bottom (“Add document”).
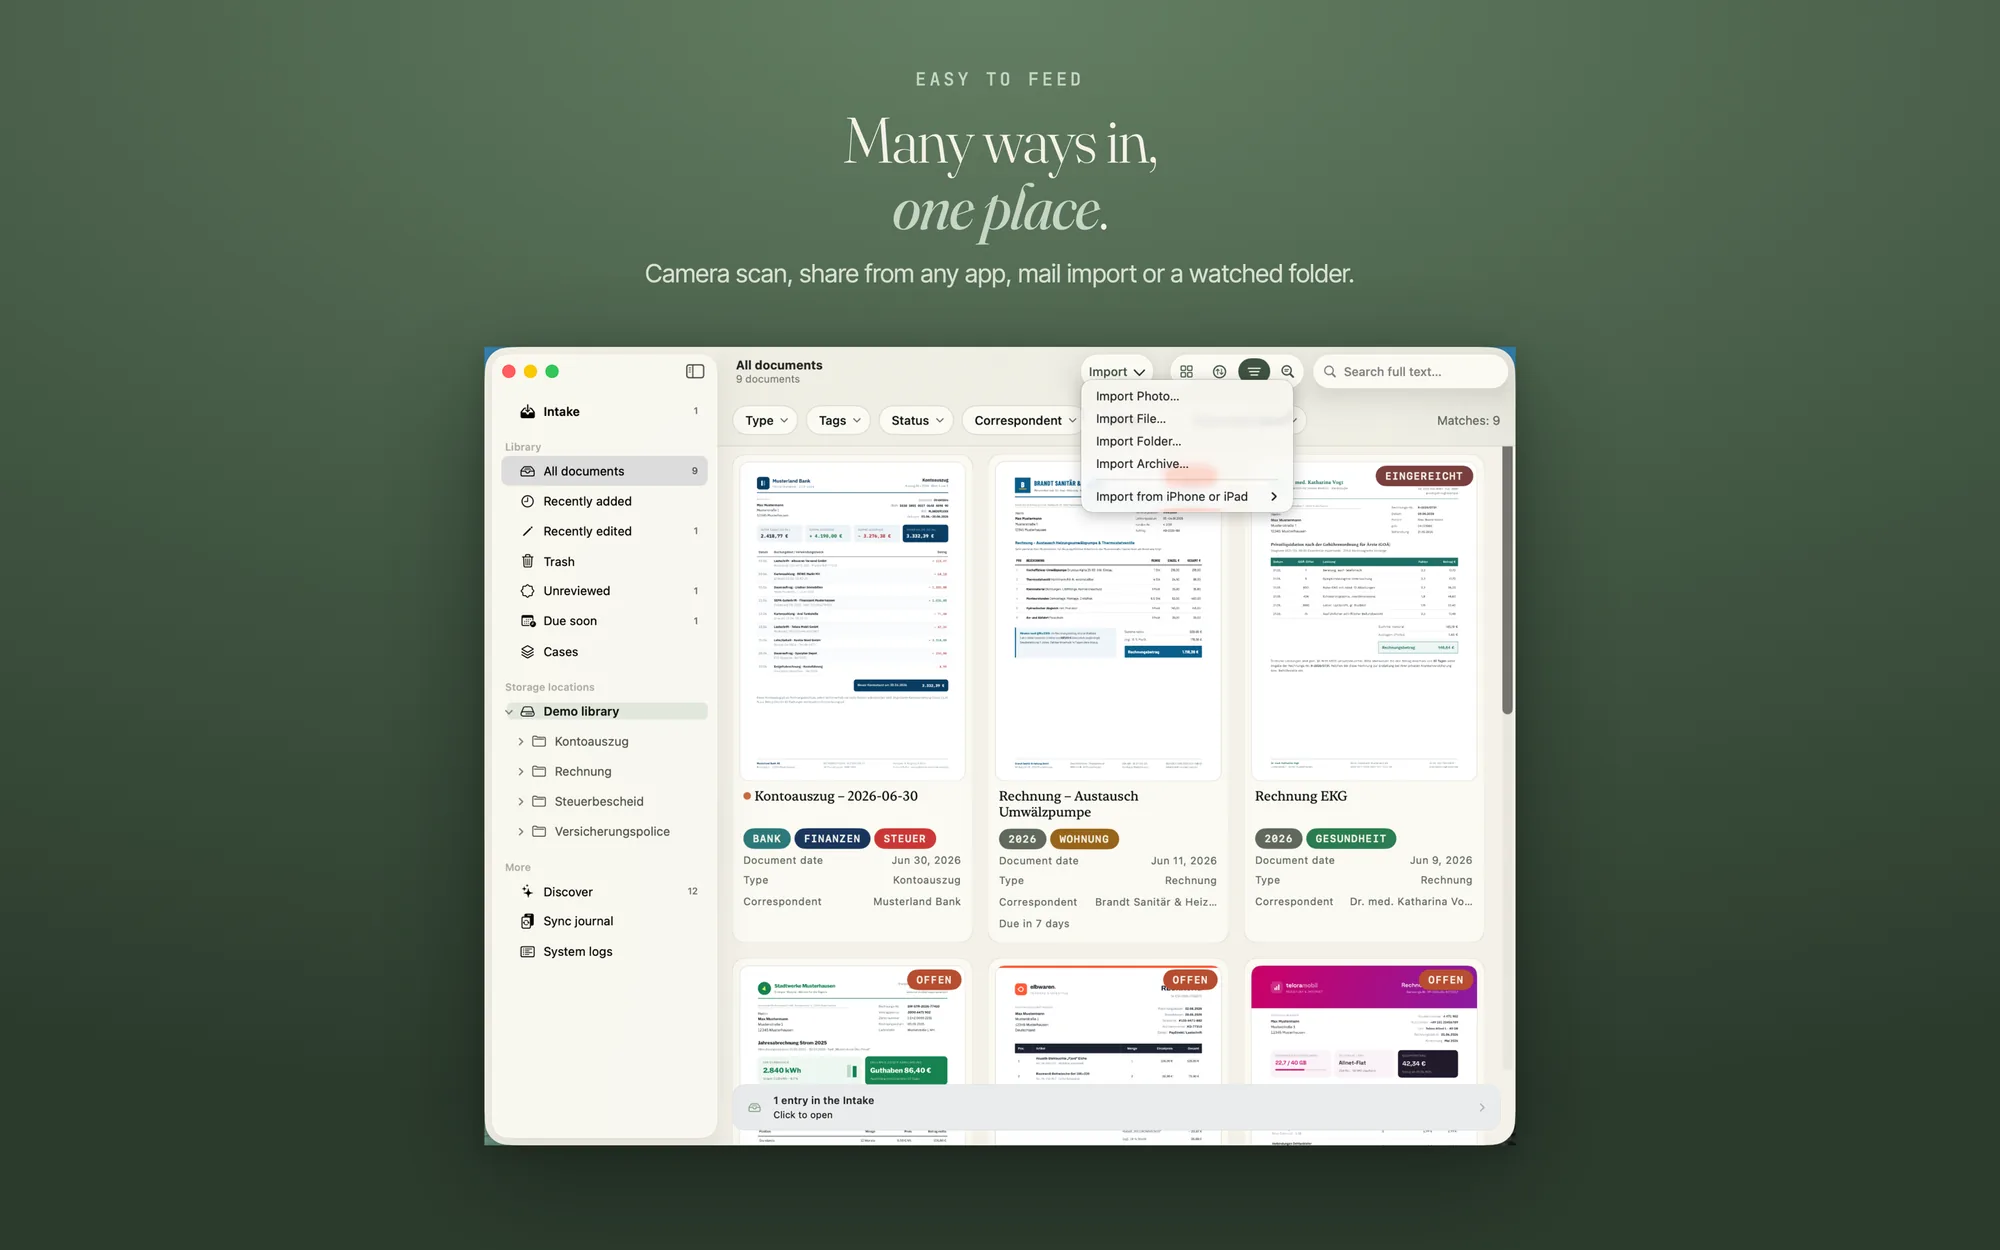
Mac: choose “Import…” (⌘O) in the “File” menu.
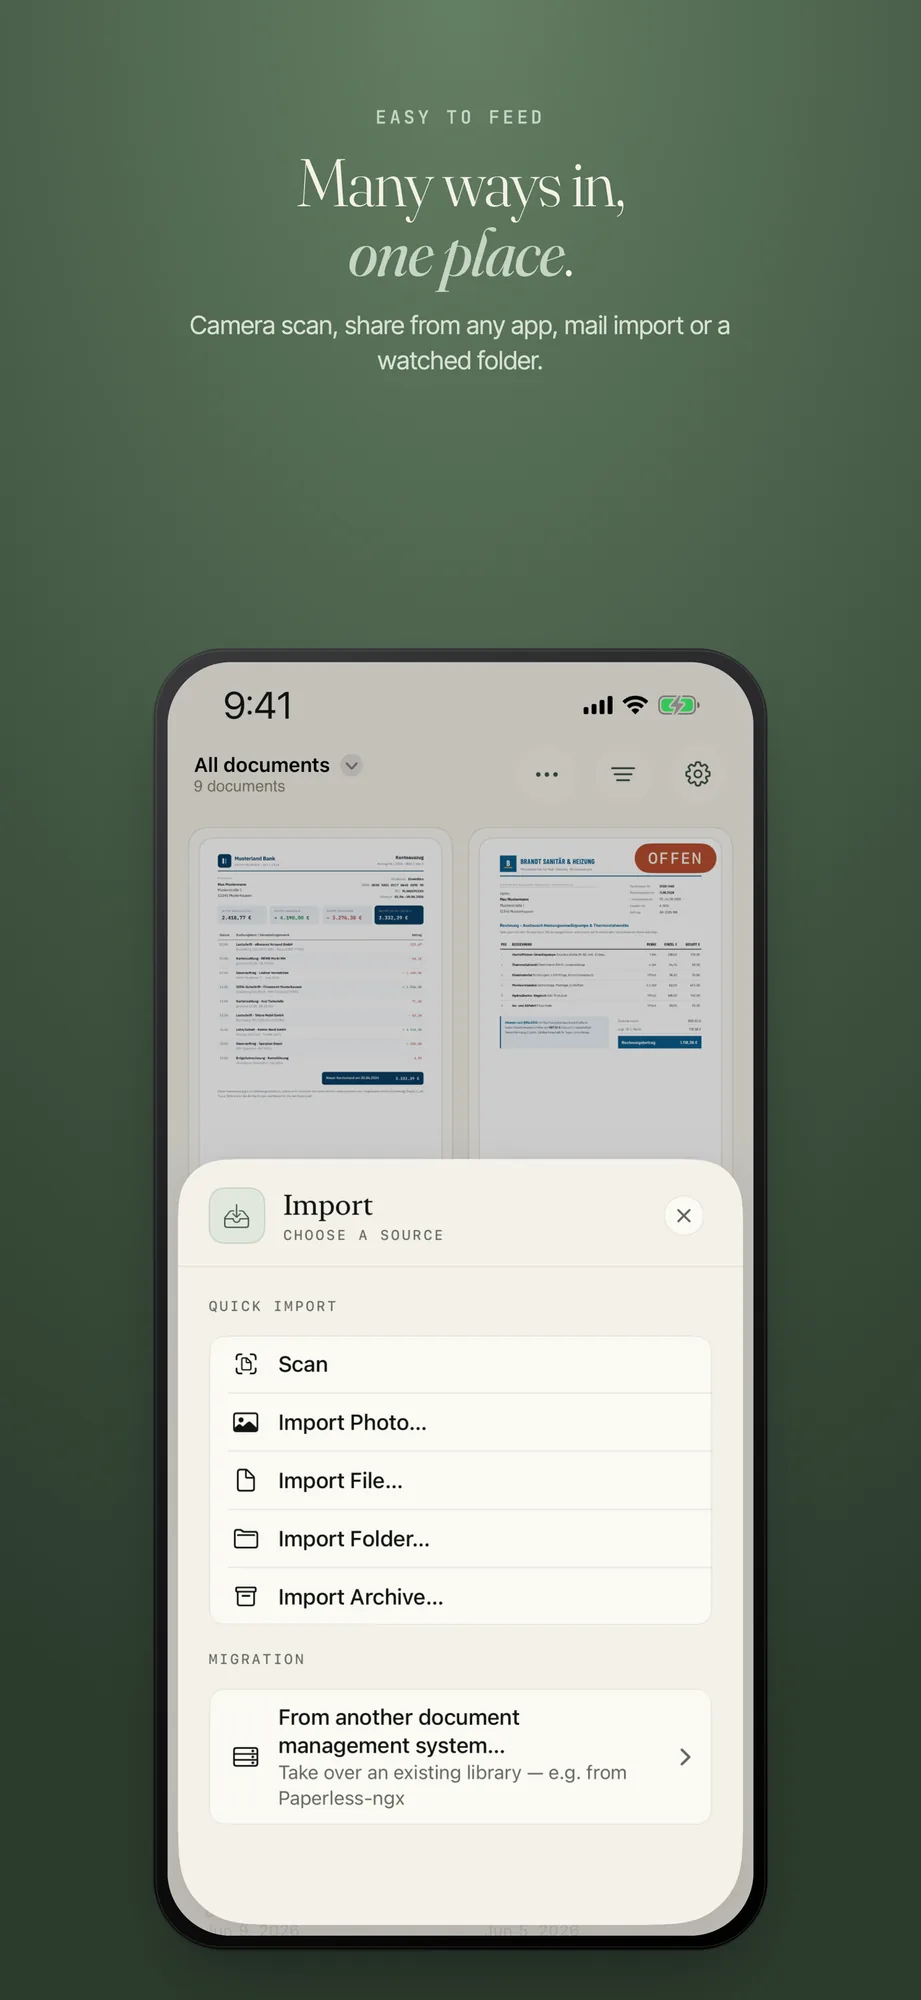
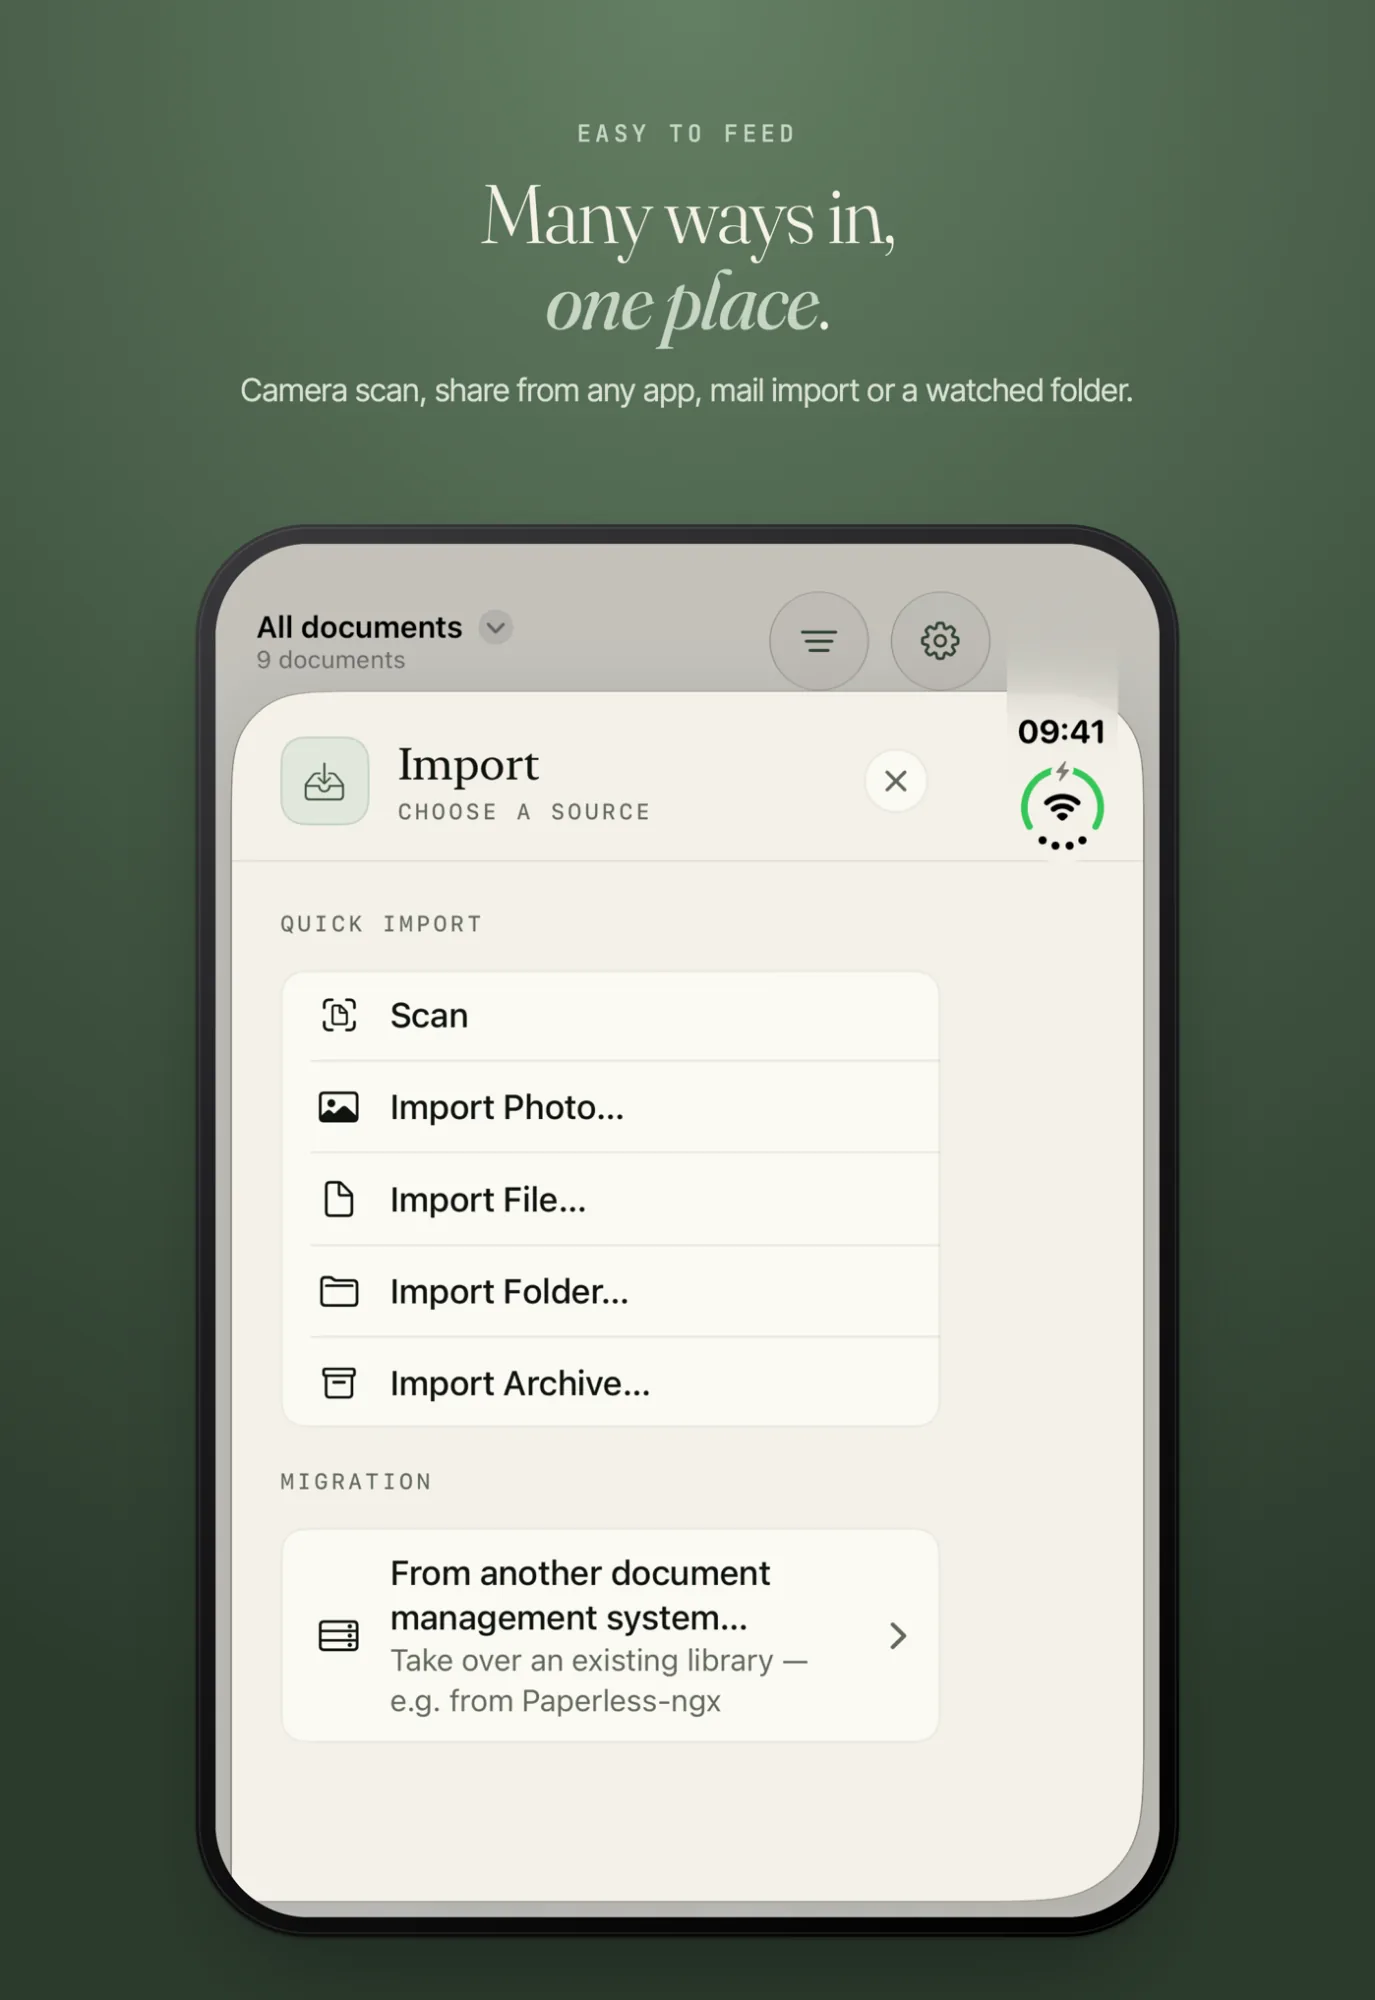
Then you choose the source: “Scan” (iPhone and iPad only, the Mac has no built-in camera), “Import Photo…”, “Import File…” (PDFs and images), “Import Folder…” or “Import Archive…”. All the ways in at a glance: Bringing documents in.
Write to us through the contact form. The more exactly you name the step and the message in the app, the faster we find the cause.